
Exposed fastener metal roofing
The honest cheap roof.
The one with the screws you can see.
Exposed fastener metal roofing is the one with the screws you can see — rows of them marching across the panel in a regular pattern, each with a rubber washer under the head.
Standing seam is what we form and specialise in. This page is about the other option.
It has a reputation problem, mostly earned by people putting it on buildings it doesn’t suit and then being surprised. On the right building it’s a perfectly sound roof, it costs meaningfully less than standing seam, and it’s the system a competent DIYer can actually install.
Here’s when it’s the right call and when it isn’t.
How exposed fastener works.
Formed steel panels, fastened straight through the face into the deck or purlins below, with the panels overlapping at a rib. The screw goes through the metal and a neoprene or EPDM washer compresses to seal the hole.
Common profiles:
Corrugated
The wavy one. Around 24 inches of coverage, and probably what you picture when someone says “metal roof.” Long history on barns, sheds and Island outbuildings.
Ribbed / agricultural panel
Flat pans with raised trapezoidal ribs, typically 36 inches of coverage. The workhorse — shops, garages, agricultural buildings, commercial. Wider coverage means fewer panels and faster install.
Both go on the same way, and both typically use a lighter gauge steel than standing seam does — part of why the material costs less. Ask about the gauge on anything you’re ordering rather than assuming.
The trade-off, stated plainly
The washers are a wear item.
That’s the whole thing. Every fastener is a hole through the weather surface, sealed by a compressed rubber washer, and rubber ages. Sun, temperature cycling and the roof’s own expansion and contraction working against a fixed screw all take a toll.
So an exposed fastener roof asks for periodic inspection, and at some point in its life it asks for a re-screw — walking the roof and replacing washers, or moving to a slightly larger fastener where a hole has elongated.
That’s not a fault. It’s a known maintenance item, and it’s why the roof costs less. Standing seam costs more because it moves that maintenance item off the roof entirely by putting the fasteners under the seam.
If nobody is ever going to walk that roof again, you want standing seam. If it’s a shop you’ll be in and out of for the next thirty years, exposed fastener is a reasonable trade.
Where it’s the right call
- Shops, garages and workshops
- Barns, agricultural buildings and equipment sheds
- Outbuildings, run-ins and lean-tos
- Commercial and light industrial where appearance is secondary
- Reroofs where the budget won’t stretch and the alternative is another twenty years of asphalt
- Buildings with simple geometry — a gable or a shed roof and not much else
- Owner-builders installing it themselves
Where to choose something else.
- The main roof of a house you intend to keep
- Anything architecturally visible where the fastener pattern will bother you
- Complex roofs with valleys, dormers and transitions — the detailing gets fiddly and the savings evaporate
- Very low slope, where lap joints are working against you
- Anywhere access makes future maintenance impractical
- Anywhere you’re planning clamp-on solar, which needs a seam to grip
Slope
Exposed fastener systems generally want more slope than mechanically seamed standing seam, because water is crossing lapped joints rather than running down an unbroken pan.
Confirm the minimum for the specific profile before you order. If your roof is marginal, that’s a reason to look at standing seam rather than a reason to push a profile past what it’s rated for.
Cost
Exposed fastener installed starts at around $9.50 per square foot against $12 for standing seam. On a typical roof that’s a difference of several thousand dollars.
The gap narrows on complicated roofs, because flashing and detailing costs roughly the same either way and the savings live in the panel and the labour on the field.
It’s genuinely easier to install
This is the honest reason a lot of owner-builders choose it.
No clips, no seaming tool, no thermal-movement planning of the kind standing seam demands. Panels go on, screws go in, closures at the ridge and eave. The layout still has to be square and the flashing still has to be right — those parts don’t get easier — but the field of the roof is straightforward work.
The mistakes people make are consistent and avoidable: over-driving the screws so the washer squashes out and stops sealing, under-driving so it never seals at all, missing the purlin or the framing behind the deck, and cutting the panels with an angle grinder.
How we supply and install it.
We install exposed fastener where the building calls for it, and we’ll tell you when we think it does. Standing seam is what we form and what we specialise in, and a shop roof does not need it.
For material — panels for your own project or for your crew — the same three ways to buy apply.
Same metal. Three ways to buy it.
01
DIY Roof Kits
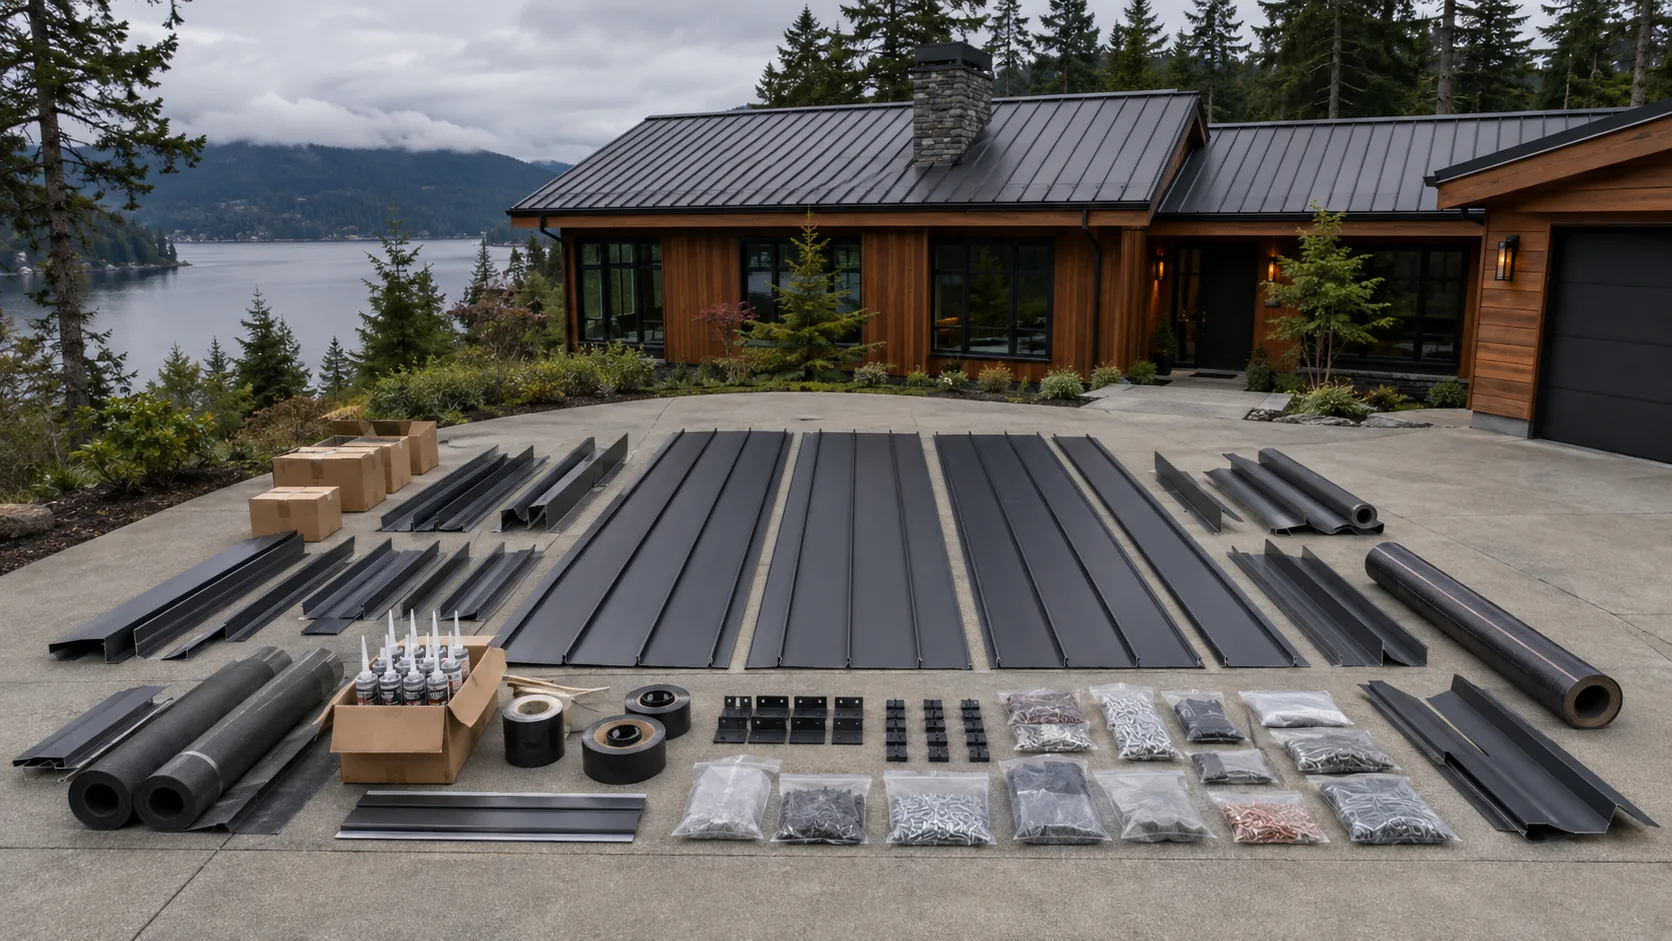
Panels, trim and components cut for your project. You install it.
02
Contractor Supply
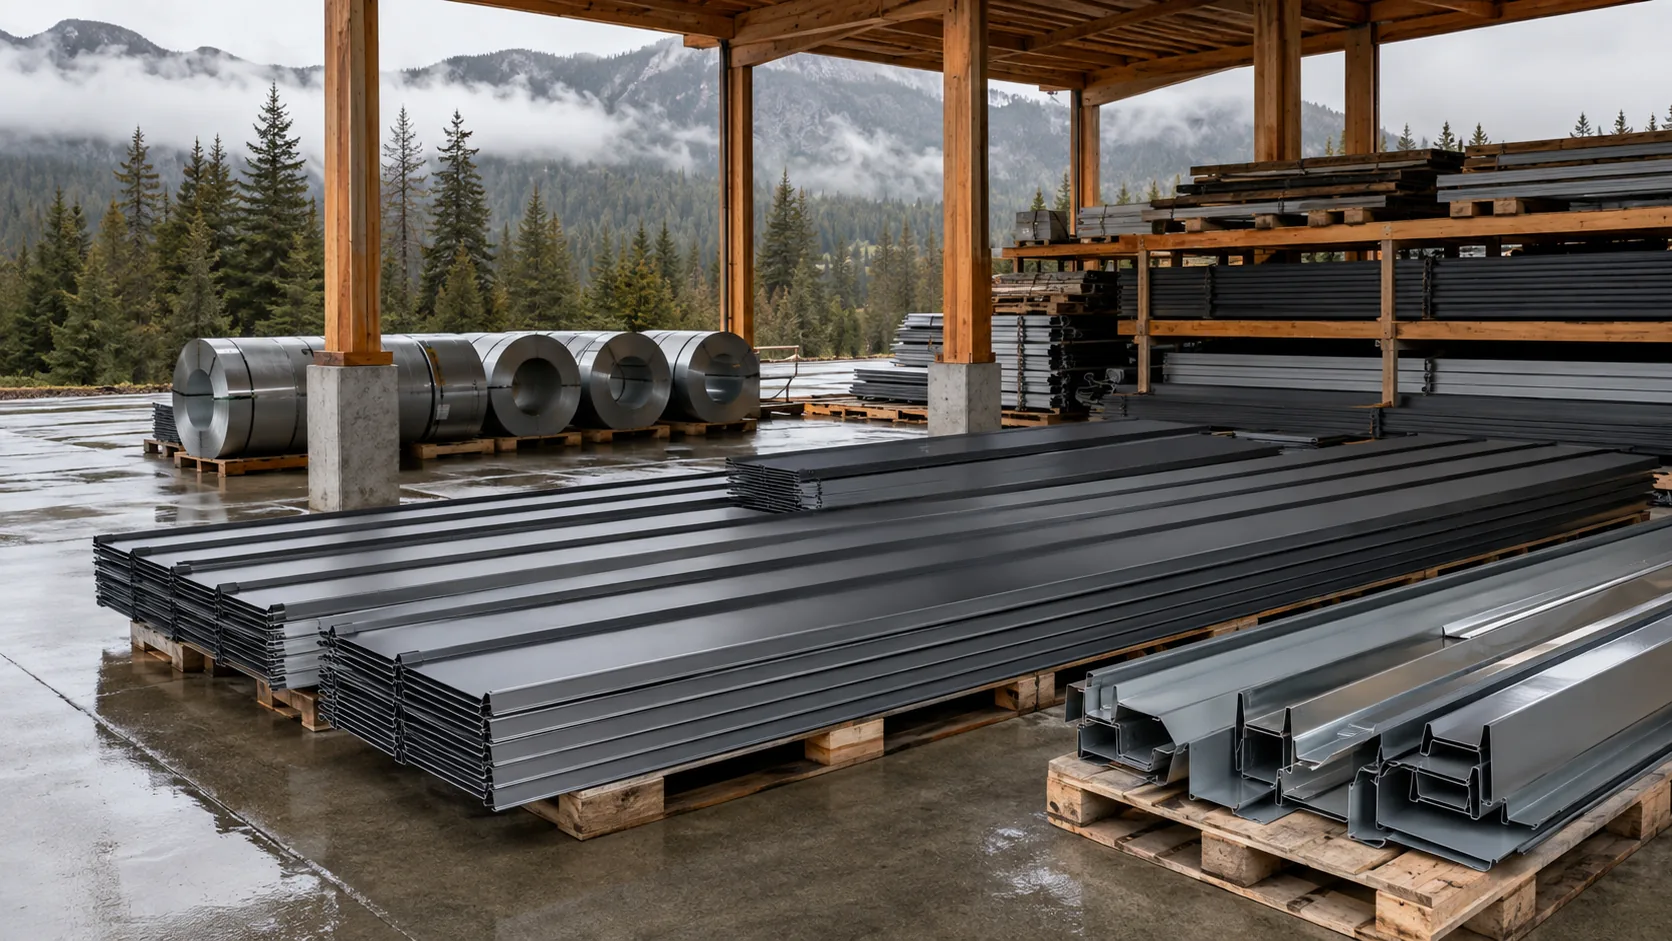
Custom-length panels and trim formed to your takeoff or plans.
Price your roof in about two minutes
Find your house on the satellite map, outline the roof and see an estimated range straight away. It is an estimate rather than a quote, and you see it before we ask for any details.
Frequently asked
Exposed fastener questions.
Tell us about the building
We’ll tell you which system
the building actually needs.
Shop, barn or house — the answer is not always the expensive one.