
How to install metal roofing
The roof is decided before the first panel goes on.
This is not a step-by-step installation manual.
Standing seam is a system, and systems have manufacturer instructions specific to the profile you bought — the clip spacing, the seam height, the fastener pattern, the flashing details. A generic guide that tells you to “fasten the clips every 24 inches” is guessing at your roof, and if it guesses wrong you find out in the second winter.
Always follow the manufacturer instructions for the specific profile you bought.
On this page
- Your slope decides your profile
- What’s under the metal decides more than the metal
- Underlayment: use the high-temperature kind
- Metal moves. Plan for it or it tells you later.
- Layout is what separates a good roof from an obviously amateur one
- Oil canning, and why it isn’t a defect
- Cutting: the mistake that rusts the roof
- Where metal roofs actually leak
- Dissimilar metals, which matters more here
- Fall protection is not the optional part
- Tools you actually need
- What to have sorted before the metal arrives
- When to stop and call someone
- Coastal BC specifics
- Frequently asked
What this is: everything that determines whether your roof works, in the order you need to think about it. Most of it happens before the metal arrives. The people who get into trouble are almost never the ones who couldn’t screw a clip down — they’re the ones who started before they’d worked out layout, or ordered the wrong profile for their slope, or cut the panels with the wrong tool.
Read this, then decide honestly whether you’re doing it.
Rather have the metal cut for you?
We form standing-seam panels to your roof’s lengths and prepare the trim, so you install a kit worked out for your roof instead of stock lengths off a rack.
1. Your slope decides your profile
This is the first question and it eliminates options.
Metal roofing panels lock together in one of three ways, and they are not interchangeable:
01 Snap-lock
Panels snap over concealed clips. No seaming tool required, which is why it’s the common choice for owner-builders. Generally wants 3:12 or steeper — check the manufacturer’s minimum for the specific profile.
02 Mechanical lock
The seam is folded closed on site with a seaming machine, either a single fold (90°) or a double fold (180°). More work, more equipment, and a substantially better roof in weather. Double-lock systems go to much lower slopes than snap-lock — some down near 1/4:12 — which is why they show up on low-slope and coastal work.
03 Nail strip
Also called fastener flange. The panel has an integral flange that gets fastened straight through the deck, and the next panel snaps over it. Cheaper and faster. The catch is that it’s fixed to the deck rather than clipped, so it can’t move — which matters more than it sounds. See section 4.
If your roof is under 3:12, snap-lock is likely off the table regardless of what you’d prefer. Find that out now, not after the metal is formed.
2. What’s under the metal decides more than the metal
A metal roof is only as good as the deck it sits on, and a reroof is the only time you’ll ever see that deck.
Tear off and look. This is the argument against going over shingles, which people ask about constantly. It can be done — some jurisdictions allow it, some assemblies suit it — but you’re covering up the one thing you should be inspecting, you’re building on a surface that isn’t flat, and you’re guessing at the condition of the sheathing underneath. Unevenness telegraphs through metal far more visibly than it does through shingles.
If you go over shingles anyway, you generally need furring or a substrate to create a flat plane, and you need to confirm the existing layer count and your local requirements first.
Check the deck for: soft spots, delamination, previous leak staining, inadequate or missing fasteners, and any framing that has moved. Fix all of it before metal goes down. It is dramatically cheaper now than it is later.
Ventilation. Metal doesn’t change the physics of what’s under it. If the assembly was under-vented before, it still is. Intake at the soffit and exhaust at the ridge need to balance, and a vented ridge on a metal roof is a specific detail with its own closures — not the same product as a shingle ridge vent.
Insulation. If the roof assembly is inaccessible from below, tear-off is realistically your only chance at it for the next several decades. That’s worth pricing before you commit, and it’s the one part of a reroof where rebate money exists in BC — the roof itself isn’t rebated, the insulation underneath sometimes is.
3. Underlayment: use the high-temperature kind
Metal roofs get hot. Considerably hotter than shingles, because there’s no mass to absorb it and the surface reradiates into the cavity beneath.
Standard self-adhered membrane — the ordinary peel-and-stick people use under asphalt — can soften under metal, and in the worst cases the adhesive bleeds or the membrane relaxes and wrinkles. Use a high-temperature self-adhered membrane rated for metal roofing, or a synthetic underlayment rated for it.
On this coast, extend self-adhered membrane at the eaves, in all valleys, and around every penetration. Rain here doesn’t fall so much as accumulate, and the eave is where it backs up.
Synthetic underlayment over the field is standard. Felt is not a good choice under metal — it holds moisture against the panel backside and it tears under foot traffic during install.
4. Metal moves. Plan for it or it tells you later.
This is the single most common thing DIY installers don’t know, and it produces failures that show up years afterwards.
Steel expands and contracts with temperature. Over a long panel, in a climate with a wide seasonal swing, the total movement is enough to matter — steel moves roughly a tenth of an inch for every ten feet of panel across a hundred-degree annual swing. Aluminum moves about twice that.
That movement has to go somewhere. Two consequences:
Clips
Fixed clips hold the panel rigidly. Floating (two-piece) clips let the panel slide. Long panels generally need floating clips, and there’s a length threshold — commonly around 30 feet, but confirm it for the profile — beyond which fixed clips will cause problems. Clip choice is determined by panel length and the manufacturer’s instructions.
Nail strip and length
Because a nail-strip panel is fastened through the deck, it can’t slide. That’s why nail strip is fine on short runs and a bad idea on long ones — the panel will try to move, can’t, and either oil-cans, distorts around the fasteners, or elongates the holes.
You also need to decide your fixed point — the place on each panel where it’s deliberately anchored, so the panel expands away from that point in a known direction rather than wandering both ways. Usually the eave or the ridge, depending on the system.
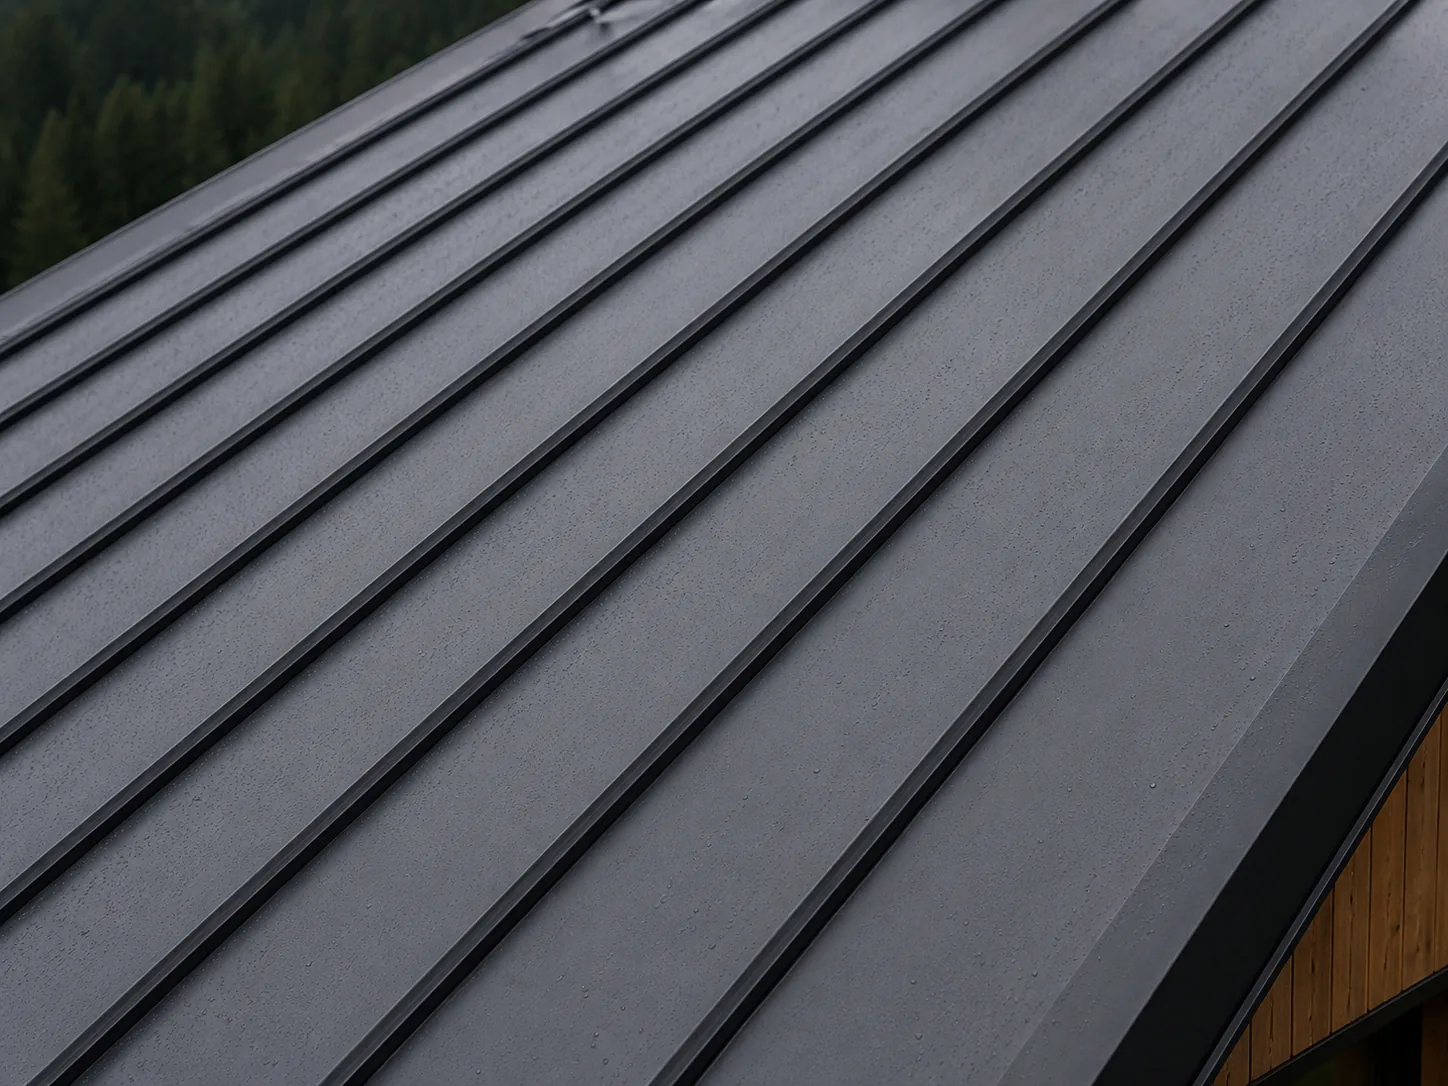
5. Layout is what separates a good roof from an obviously amateur one
The flat middle of a roof is easy. What people see from the street is whether the seams are straight and evenly spaced.
- Don’t trust the deck. Measure the diagonals and establish square yourself. Buildings settle, framing isn’t perfect, and eaves are frequently not parallel to ridges. If you lay panels off an out-of-square eave, the error accumulates across the roof and the last panel is visibly tapered.
- Work out the panel module before you order. Divide the roof width by the panel coverage width. If the remainder leaves you finishing with a two-inch sliver, you fix that now by adjusting where you start or by having a custom-width panel formed — not by squeezing it on the roof.
- Decide where you start. Prevailing weather, roof geometry and where the visible sightlines are all factor in. On a roof visible from one side, you generally want the full panels where people look and the adjustment where they don’t.
- Snap lines and check as you go. Measure to a line every few panels rather than trusting that each panel is tracking straight. A seam that wanders is permanent, and it’s the first thing anyone notices.
6. Oil canning, and why it isn’t a defect
Nobody warns first-time buyers about this and it causes more disappointment than any other single thing.
Oil canning is visible waviness in the flat part of a metal panel — a slight ripple you see at certain angles and in certain light. It’s inherent to light-gauge metal in wide flat areas. It is not a manufacturing fault and it is not covered by any warranty, anywhere.
What makes it worse
- An uneven deck telegraphing through
- Over-tightened or over-driven clips putting stress into the pan
- Restricted thermal movement
- Wide flat panels with no relief
- Dark colours and low-angle light
What reduces it
Striations or pencil ribs rolled into the pan, narrower panels, a flat deck, and correct clip installation. If a smooth flat pan matters to you aesthetically, understand the trade-off before you order, because it can’t be fixed afterwards.
7. Cutting: the mistake that rusts the roof
Never cut coated steel roofing with an abrasive saw or an angle grinder.
Two reasons, both permanent. The hot swarf lands on the panels around it, embeds in the coating and rusts — you get a spray of tiny orange dots across a brand-new roof that nothing removes. And the cut edge itself is burned, so the coating is destroyed exactly where water will find it.
Use hand snips, an electric nibbler, or a shear. Cut face-down where practical, sweep swarf off panels immediately, and don’t leave offcuts lying on the finished roof overnight in the rain.
Same principle with storage. Panels stacked flat with water between them develop white rust — a chalky corrosion that isn’t a warranty item because it’s a handling failure. Store bundles off the ground, angled to drain, covered but ventilated, and don’t leave them banded and wet for weeks.
8. Where metal roofs actually leak
Almost never the field. Almost always somewhere the plane stops.
- Penetrations. Pipe boots need to be a high-temperature EPDM or silicone rated for metal. Locate them in the flat of the pan where possible and never through a seam. Anything wider than about two feet — a chimney, a wide curb — needs a cricket on the upslope side to divert water around it rather than letting it pond against the back.
- Valleys. Standing seam valleys are open, with a W-profile centre rib to stop water crossing from one side to the other in heavy rain. Panels get cut at an angle and hemmed — the edge is folded back on itself so water breaks and drops into the valley instead of wicking under the panel. The hem is the detail. Skip it and the valley leaks.
- Headwall and sidewall. Where a roof meets a vertical wall, you need proper counterflashing that lets the roof move independently. Caulk is not flashing. Anything relying on sealant to keep water out will fail; sealant is a secondary defence behind a detail that already works geometrically.
- Eave. Eave trim goes on first and the panels hook over it. The order matters — you can’t add it afterwards.
- Ridge. Vented ridge with the correct closures, sized to the panel profile. Foam closures compress and degrade; formed metal closures last. Whatever you use, it has to seal against the panel ribs without blocking the vent path.
9. Dissimilar metals, which matters more here
Galvanic corrosion happens when two different metals contact in the presence of moisture. On the coast, with salt in the air, the reaction runs faster.
Practically:
- Don’t put copper in contact with steel roofing — including copper flashing, and including runoff from a copper element upslope
- Don’t let pressure-treated lumber contact steel panels without a separation layer; the treatment chemistry is corrosive to zinc coatings
- Use fasteners compatible with the panel material, from the same manufacturer where possible
- Be careful with lead, graphite and certain mortars
Also: cut edges and coastal exposure. Every cut exposes bare steel. On a sheltered inland lot that’s tolerable. On an oceanfront wall it isn’t, and the right answer depends on the specific coil’s substrate and coating, which is a product documentation question rather than something a guide can answer for you.
10. Fall protection is not the optional part
In British Columbia, WorkSafeBC requires fall protection where a worker may fall 3 metres — about 10 feet — or where a fall from a lesser height could cause injury. That applies to a roof.
If you’re a homeowner working on your own house you’re outside the employer/worker relationship, but the physics doesn’t care about the regulation. Metal is slick when wet, slicker with morning dew, and standing seam has almost nothing to grab. Coastal BC is wet most of the year.
Anchors, a harness, a rope grab, appropriate footwear, and roof jacks or scaffolding on anything steep. If you’re bringing anyone in to help, understand that the moment you’re directing someone else’s work you’re into different territory.
Working at height is the real risk on this job. The metal is the easy part.
11. Tools you actually need
- Hand snips — left, right and straight
- Electric nibbler or shear for long cuts
- Hemming and folding tools appropriate to the profile
- Seaming machine, if you’re running mechanical lock
- Cordless drivers with depth control, so clips aren’t over-driven
- Chalk lines, a long straightedge, and a reliable way to check square
- Panel handling gear — long panels are floppy and crease permanently
- Ladders, roof jacks or scaffolding
- Fall protection
- Soft-soled footwear, and knowledge of where you can step
12. What to have sorted before the metal arrives
This is the checklist that decides whether the install goes well:
- Deck torn off, inspected and repaired
- Ventilation confirmed and any insulation work done
- Underlayment on, valleys and eaves membraned
- Roof squared and lines snapped
- Panel module worked out, starting position decided
- Fixed point and clip type confirmed against panel length
- Eave trim on
- Trim sequence understood — some goes on before panels, some after
- Delivery access sorted, and somewhere dry and angled to store bundles
- A weather window
- Fall protection set up before anyone goes up
13. When to stop and call someone
Honest list. None of these means you can’t do it — they mean the cost of getting it wrong goes up sharply:
- Slope below the profile’s rated minimum
- Multiple intersecting planes, valleys and dormers
- Any transition between pitches
- A chimney or a wide curb needing a cricket
- Very steep, or difficult access
- Structural or decking problems you can’t assess
- You’ve never done exterior construction
- You’re not comfortable at height
There’s a middle option people forget: buy the material and hire a crew for the difficult parts. Plenty of owner-builders run their own field panels and bring someone in for valleys and flashing.
14. Coastal BC specifics
Rain volume, not rain events
Details that survive a thunderstorm elsewhere fail here under weeks of continuous water. Hems and laps matter more.
Moss and shade
A smooth continuous plane gives moss much less to hold than shingle does, which is a large part of why metal makes sense under tree cover here.
Wind exposure varies enormously
A sheltered valley lot and an exposed bluff are different engineering problems.
Salt
Coating and substrate selection is site-specific near the water. Ask about your site rather than trusting a general answer — including this one.
Snow
Metal sheds, which is a feature until it sheds onto a doorway or a driveway. Snow guards clamp to the seam without penetrating the panel. Plan them before install, not after the first slide.
Closing
Standing seam goes well when the decisions are made early and badly when they are improvised on the ladder. Nothing in this guide is difficult. All of it is decidable before you’re on a ladder, and almost all of the trouble people run into comes from starting before those decisions were made.
If you’re working out whether your roof suits a kit, that question is worked through on the roof kits page. And if you’d rather send us the roof and let us work out the panel lengths and trim, that’s the other half of what we do.
Price your roof in about two minutes
Find your house on the satellite map, outline the roof and see an estimated range straight away. It is an estimate rather than a quote, and you see it before we ask for any details.
Frequently asked
Before you start.
Send us the roof
We form the panels.
You decide who hangs them.
A kit for your own install, or a crew for the parts you’d rather not do.